Cracks in Drywall: When to Worry and When to Patch

Most cracks in drywall are cosmetic. A thin line above a door, a seam that opens along the ceiling every winter, or a corner bead that shows a hairline is almost always normal seasonal movement or a taping joint letting go, and a patch fixes it for good. The ones worth worrying about are wide, they run diagonally through the wall rather than along a seam, they keep growing after you patch them, or they show up with a door that suddenly sticks and a floor that has gone out of level.
Here is the quick screen. Measure the width, note the direction, and check whether anything else in the room moved. Under about 1/8 inch, following a seam, with no sticking doors, is a patch. Over 1/4 inch, running diagonally, with doors or windows binding, gets a professional look before you skim an ounce of mud over it.
Updated September 2026
Planning a repair or a full re-board of a room? Use our free Drywall Calculator to get sheets, joint compound, tape and screws for the actual wall and ceiling areas, so you buy one trip's worth of material instead of guessing.
What cracks in drywall are telling you, by type
Drywall itself is not structural. It is a brittle skin nailed to a frame that moves. So a crack is almost always reporting on something behind it: a joint that was taped badly, framing lumber shrinking as it dries, a truss lifting in winter, or in rare cases a foundation that is going somewhere it should not.
| Crack pattern | Where you see it | Usual cause | Worry level |
|---|---|---|---|
| Straight line, 4 ft or 8 ft long, on a flat wall | Along a factory seam | Tape bond failed or the joint was under-mudded | Low |
| Thin line at the wall to ceiling corner | Whole room perimeter, worse in winter | Truss uplift, seasonal | Low |
| Short diagonal from a door or window corner | Upper corner of the opening | Framing shrinkage and normal stress at the weakest point | Low to medium |
| Crack that follows the screw line | Vertical, every 12 to 16 inches | Popped screws or nails, framing dried and shrank | Low |
| Long diagonal across a wall, wider at one end | Anywhere, often near the middle | Differential settlement or a sagging beam | High |
| Stair step pattern in a basement block wall | Foundation wall, not drywall | Foundation movement | High |
| Crack that reopens within a season of a good repair | Same spot every time | Ongoing movement, not a bad repair | High |
| Ceiling crack running the length of a room, with sag | Center of the ceiling | Overspanned framing, water damage, or too few fasteners | High |
| Bubbling or peeling tape with brown staining | Ceiling or an exterior wall | A leak, not movement | Fix the leak first |
If the crack you are staring at is in a basement foundation wall rather than in the drywall, that is a different diagnosis with different rules, and our guide to foundation cracks and when to worry covers the widths, shapes and monitoring method for concrete and block.
The three tests that separate cosmetic from structural
You do not need equipment. You need a tape measure, a marble and 20 minutes.
1. The width test. Hold a tape or a business card against the crack.
| Width | Reading |
|---|---|
| Under 1/16 in, hard to get a fingernail into | Cosmetic. Tape or paint film failure |
| 1/16 to 1/8 in | Cosmetic in almost every case. Patch it |
| 1/8 to 1/4 in | Worth monitoring for a season before you patch |
| Over 1/4 in, or wider at one end than the other | Get a structural opinion before repairing |
A crack that tapers matters more than a crack that is wide. Uniform width means the wall moved as a unit. Tapered means one part of the house went down and another did not.
2. The direction test. Cracks that follow a drywall seam are following the weakest line in the finish, so they say little about the frame. Cracks that ignore seams and cut diagonally across a wall are following stress in the structure. Diagonals from the upper corners of doors and windows are the exception, since those corners concentrate stress by design, and short ones there are ordinary.
3. The everything-else test. Structural movement rarely shows up alone. Walk the room and check:
- Do interior doors swing open or closed on their own?
- Does a door that used to latch now bind at the top or the strike?
- Set a marble on the floor in three places. Does it roll the same direction every time?
- Are the window sashes hard to operate?
- Is the trim pulling away from the wall or opening at a miter?
- Is there a gap between the baseboard and the floor that runs longer than a few feet?
One crack plus zero other symptoms is a patch. One crack plus three symptoms is a phone call.
Monitor before you patch: the pencil and date method
If a crack is in the middle band, 1/8 to 1/4 inch, do not repair it yet. Repairing it destroys your evidence.
- Draw a short pencil line across the crack at each end and mark today's date beside it.
- Measure the width at the widest point and write the number on the wall in pencil. Nobody will see it, and it will vanish under primer later.
- Take a photo with the tape measure in the frame.
- Repeat at 3 months, 6 months and 12 months.
A crack that opened in December and closed in June is seasonal, which means it is wood and humidity, not foundation. A crack that grew from 3/16 to 5/16 inch and never came back is active movement. That is the one you take to a structural engineer, and the twelve months of photos will be the most useful thing you hand them.
Worked example: a 12 by 16 ceiling that cracked every winter
A second floor bedroom, 12 ft by 16 ft, one long crack at the wall to ceiling corner across the 16 ft wall, plus two short cracks at the perimeter of the other three walls. It opened about 1/8 inch every January and closed by May. Two previous owners had taped and painted it, and it came back both times.
That pattern is truss uplift. Roof trusses in a vented attic have a bottom chord buried in insulation, staying warm and moist, and a top chord out in cold dry air. The chords change moisture content at different rates, the bottom chord bows upward in winter, and it lifts the ceiling drywall away from the interior partition walls. Nothing is failing. Wood is being wood.
Patching the seam over and over is the wrong repair, because the movement will happen again next January. The right repair takes the ceiling out of the joint:
- Cut the taped corner joint free with a utility knife along all four walls.
- Back off the ceiling screws within 16 inches of the interior partitions, so the drywall is not fastened to the trusses in that band and can float.
- Reattach the ceiling edge to blocking or clips fixed to the top plate of the wall instead of to the truss.
- Install crown molding or a corner trim that is nailed to the ceiling only, not to both surfaces. Now when the truss lifts, the trim slides down the wall a hair and nothing tears.
Material check with the calculator for the same room, since a repair like this often turns into re-boarding the ceiling once you get into it. A 12 by 16 ceiling is 192 square feet. At 32 square feet per 4x8 sheet, that is 6 sheets with no waste, so 7 with a normal waste allowance. Joint compound runs roughly a gallon per 100 to 140 square feet, so a gallon and a half to two gallons. Tape runs about 1 linear foot per square foot of board, so roughly 192 feet, which one 250 foot roll covers. Screws run about 32 per 4x8 sheet on 16 inch centers, so about 224 for the sheets plus extras. Our drywall screws per sheet page breaks down the spacing rules for walls versus ceilings, which matter more on a ceiling than anywhere else.
Why cracks show up where they do
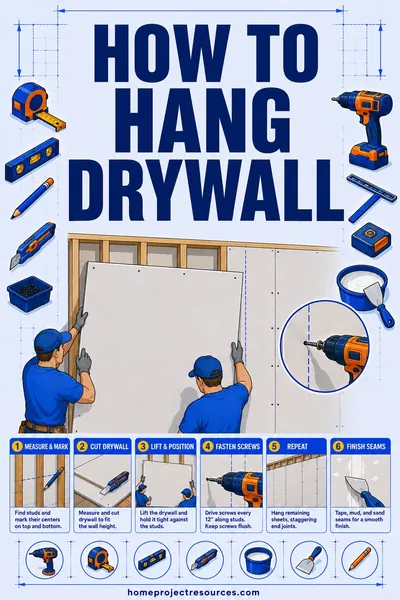
Above and beside doors. The header over a door is a beam, and the drywall corner just above it is where stress concentrates. Good hangers avoid this by never letting a drywall seam land on the edge of an opening. They cut a notch so a full sheet wraps past the corner. When a seam does land there, it cracks within the first year. Our guide on hanging drywall covers that layout rule and the stagger pattern that prevents most of these.
Along ceiling seams. Ceilings carry their own weight plus attic loads, and gravity pulls at every joint. Butt joints, where two cut ends meet with no factory taper, are the weak spots. They need a wider feather and more compound than a tapered seam.
At screw and nail lines. Framing lumber shrinks across its width as it dries, sometimes by an eighth of an inch or more in a 2x10. The board stays put, the framing pulls back, and the fastener head pushes through the mud. That is a pop, not a crack, and it repairs in ten minutes.
In the first two years of a new house. Everything is drying at once: framing lumber, concrete, mud, and the paint. First-year cracking is normal enough that many builders schedule a one year drywall touch up as part of the contract. Ask about it if you are in a new build.
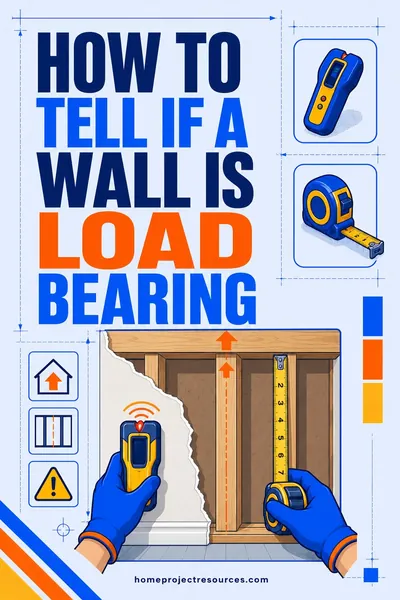
After a remodel that removed a wall. If a wall came out and cracks appeared afterward, that is a real question. A wall being non-structural is not something to guess at. Our page on how to tell if a wall is load bearing walks through the checks, and if a bearing wall was removed without a proper header, this is not a drywall problem at all.
How to repair each kind, correctly
The mistake almost everyone makes is filling a crack with compound and painting over it. Joint compound has no tensile strength. It will crack again along the exact same line because nothing is holding the two sides together. Every lasting repair puts tape or mesh across the crack.
Seam crack or tape failure
- Cut out the loose tape with a utility knife until you reach tape that is stuck.
- Scrape the ridge flat and vacuum the dust.
- Bed new paper tape in a thin layer of setting-type compound, and squeeze it tight so there is no air behind it.
- Two more coats, each wider than the last, feathered out at least 8 to 10 inches total.
- Sand lightly, prime the patch, then paint the whole wall corner to corner so the sheen matches.
Screw or nail pop
- Drive a new screw about 1 1/2 inches away from the pop, into the same framing member, until it dimples just below the surface.
- Back the old fastener out or drive it deeper. Do not leave it proud.
- Two thin coats of compound over both spots, sand, prime, paint.
Corner bead crack
- Check whether the bead is loose. Press it. If it moves, add fasteners along its length first.
- Scrape the cracked mud off the bead face.
- Recoat in two thin passes with setting compound rather than lightweight all purpose, since corners take abuse.
Stress crack from a door or window corner
- Cut the crack open into a shallow V so the repair has something to key into.
- Use fiberglass mesh tape and setting compound, which resists a reopening crack better than paper does at a stress point.
- Feather wide, 12 inches or more, because a narrow patch at a stress point telegraphs.
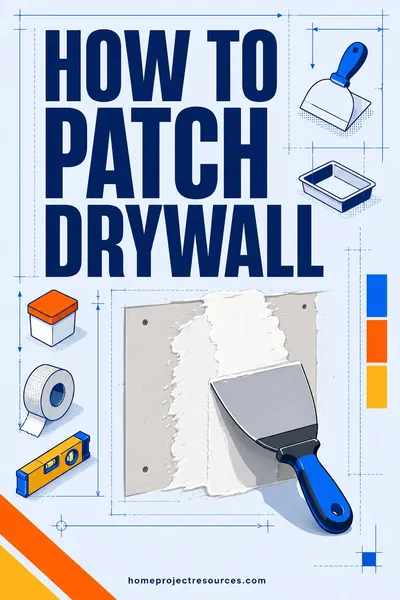
For hole-sized damage and full patching technique, our step by step on patching drywall covers the backing, the mesh and the feathering in more detail.
A note on compound choice. Setting type compound, the powder you mix that hardens by chemical reaction, is stronger and shrinks less than premixed all purpose. Use it for the first coat of any crack repair. Use lightweight premixed only for the final skim, where sanding easily matters more than strength.
When to call a professional, and which one
Call a structural engineer, not a foundation repair company, when you see any of these. An engineer sells an opinion. A repair company sells repairs.
- A crack wider than 1/4 inch that tapers.
- A diagonal crack that crosses seams and framing without caring about either.
- Cracks in more than one room, on more than one floor, in the same direction.
- Doors or windows that changed how they operate in the same season the crack appeared.
- A floor that slopes measurably, or a marble that rolls the same way in three spots.
- Stair step cracks in the foundation or in exterior brick.
- Any crack that reopens within a year of a proper taped repair.
Call a drywall finisher when the cracks are cosmetic but there are a lot of them, or when the wall is a large flat plane in raking light where an amateur skim will show. Call a roofer or plumber first, before any drywall work, when there is brown staining, softness, or bubbling, because that is water and the drywall is the last thing you fix.
FAQ
Are hairline cracks in drywall normal?
Yes, in almost every house. Framing lumber shrinks as it dries, humidity swings move everything a little each season, and drywall compound is brittle. Hairline cracks along seams and above door openings are the most common thing a drywall finisher sees and they patch permanently once you re-tape rather than just fill.
How wide does a drywall crack have to be before it is serious?
Width alone is not the test, but 1/4 inch is a reasonable line for getting a professional look, especially if the crack is wider at one end than the other. A uniform 1/8 inch crack along a seam is cosmetic. A tapering 3/8 inch diagonal across the middle of a wall is not.
Why does my drywall crack come back every year?
Because the movement causing it happens every year and the repair did not account for it. Seasonal cracks at the wall to ceiling joint are usually truss uplift, which needs a floating corner detail rather than more compound. Cracks at a door corner that return usually need mesh tape and a wider feather instead of a narrow fill.
Can I just use caulk on a drywall crack?
Only where two different materials meet, like a wall to trim joint, where the caulk is meant to flex. Do not caulk a crack in the middle of a drywall plane. Caulk stays soft, shows a shiny line through paint, and it never gets a smooth sanded surface, so the repair will always be visible in side light.
Do cracks mean my foundation is failing?
Rarely, on their own. Drywall cracks with no sticking doors, no sloping floors, no exterior masonry cracks and no basement wall movement are almost always about lumber and humidity. Foundation trouble is a pattern of symptoms, not a single line on a wall, and the monitoring method above will tell you within a year which one you have.
Should I repair cracks before selling a house?
Yes, once you know what they are. Fresh patches over an active structural crack can read as concealment during an inspection, which is worse than the crack. Repair cosmetic cracks properly, and for anything structural, get the engineer's letter and hand it over with the repair receipts. Documentation reassures buyers far more than a smooth wall does.
What is the difference between a crack and a nail pop?
A pop is a round bump or a small circle of broken compound where a fastener head pushed out as the framing dried. A crack is a line. Pops are always cosmetic and they cluster along stud lines. If you see a vertical line of round blemishes 12 to 16 inches apart, those are pops, and they repair in an afternoon.
Is it worth patching cracks before painting a room?
Always, and do the taping properly rather than filling. A skimmed crack will telegraph through fresh paint within a season and you will have painted twice. Prime every patch before you paint, because bare compound absorbs paint at a different rate than the surrounding wall and leaves flat spots.